

Azure will only let you add 1TB drives to VMs, but what if you need a disk that is larger than that? Well, with Server 2012, you can use Storage Pools to handle that.
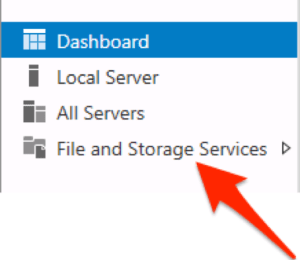
After you add the drives to the Azure VM, log into the VM and then under Server Manager, go to File and Storage Services
Then choose Storage Pools
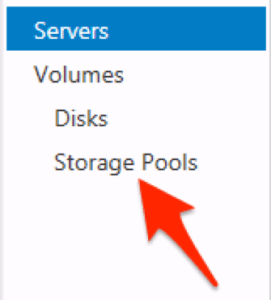
and New Storage Pool…

Follow the wizard and name the storage pool

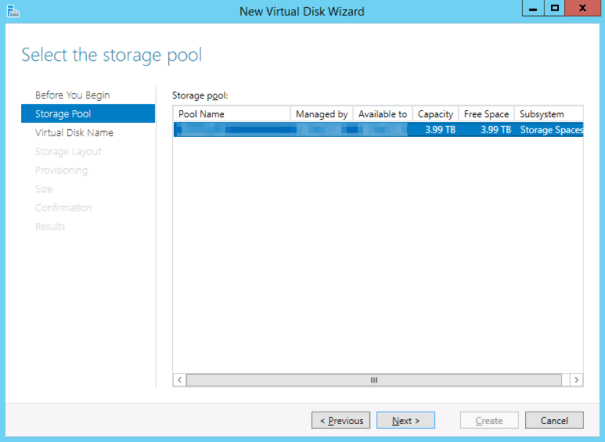
Select the disks that you added to the VM that you want to create the large disk with

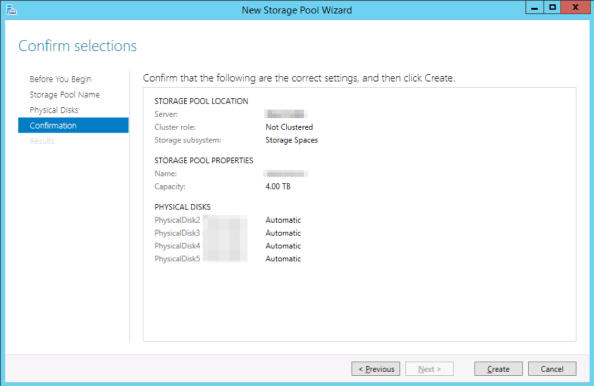
Then confirm the changes
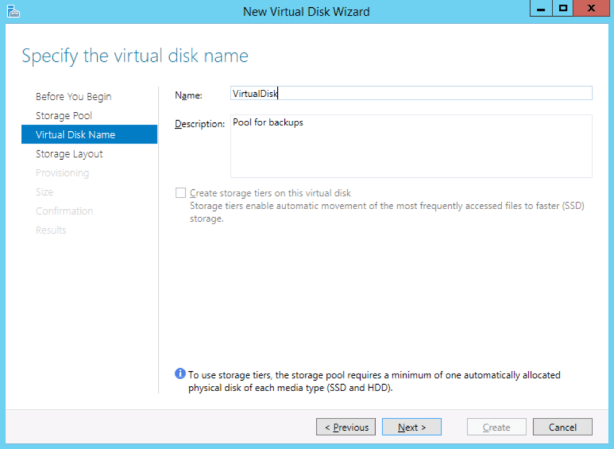
Check the box to Create the virtual disk after the wizard is finished.
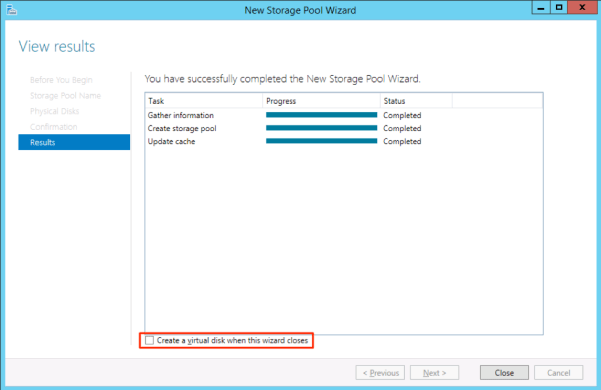
Then follow the virtual disk creation wizard.
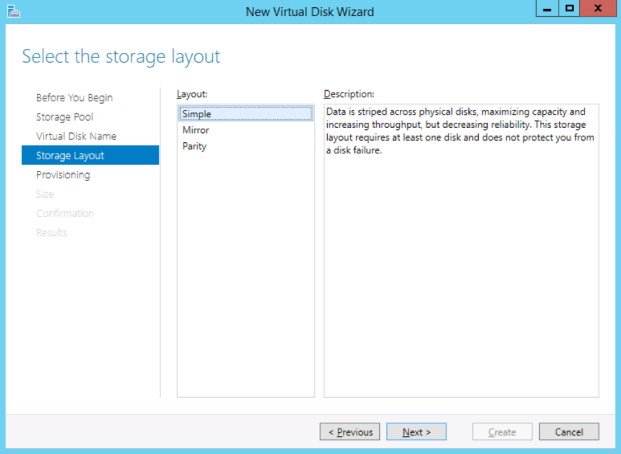
The portion where you choose the storage layout is where you choose whether you want to maximize size (Simple/RAID 0), maximize reliability (Mirror/RAID 1), or a combination of the two (Parity/RAID 5).
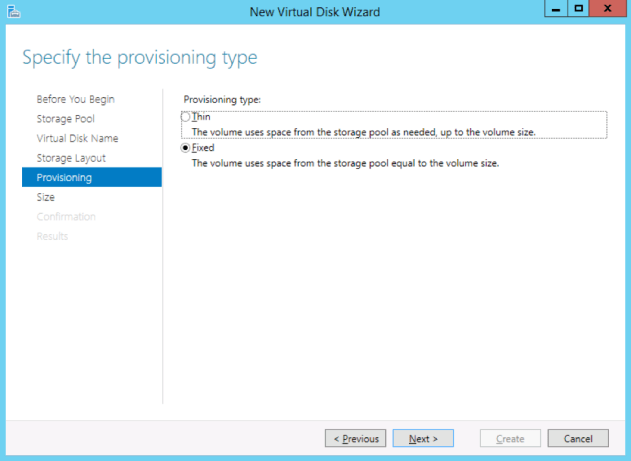
The provisioning type options are thin/fixed. I recommend fixed, because thin provisioning can lead to overprovisioning.
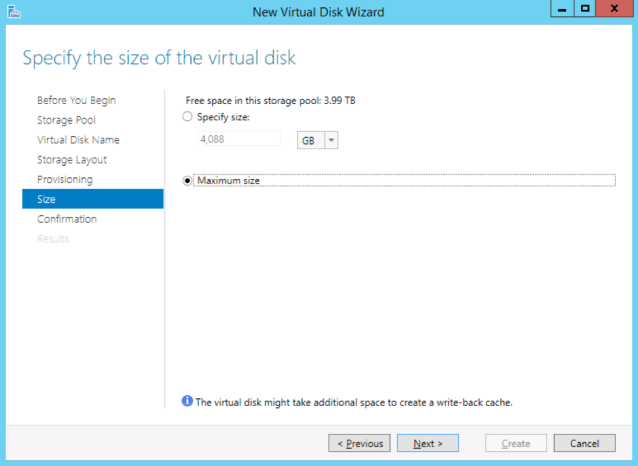
Then you can choose either to specify a size or maximize the disk.
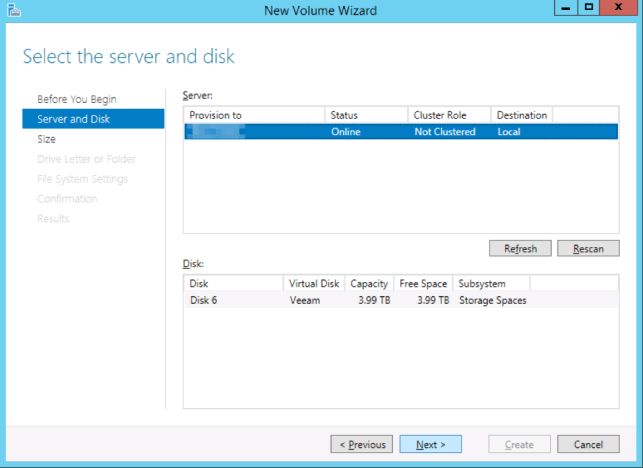
After the virtual disk is created, it will move into the wizard to create a new volume.
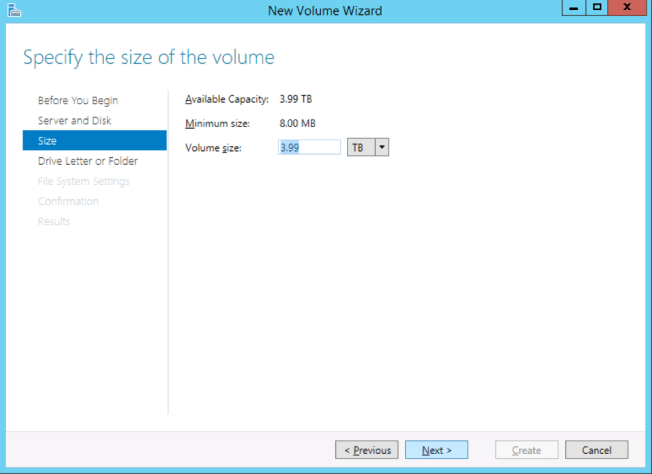
After you choose the size, you choose a drive letter.
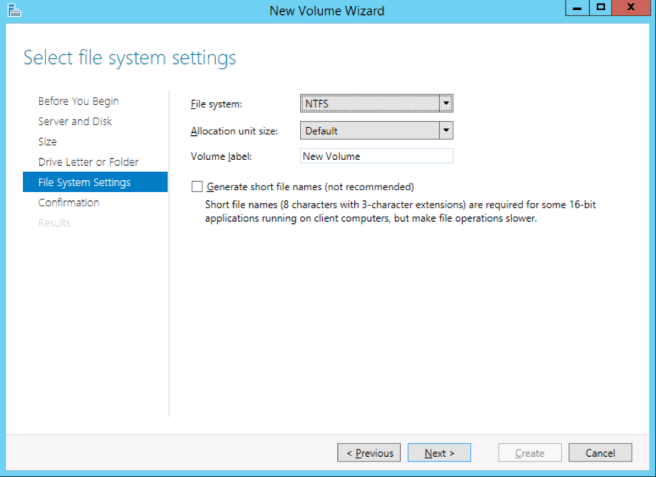
And then move to the file system format and volume name.

Then you will have a new disk with whatever size you created.


0 comments on “Creating Storage Pools in Azure”